Star Rating On Hover Using Html Css And Javascript
"Star rating system" that responds to user interaction, such as hovering, is a popular and user-friendly feature in web development. This feature allows website visitors to provide feedback or ratings for products, services, or content with ease.
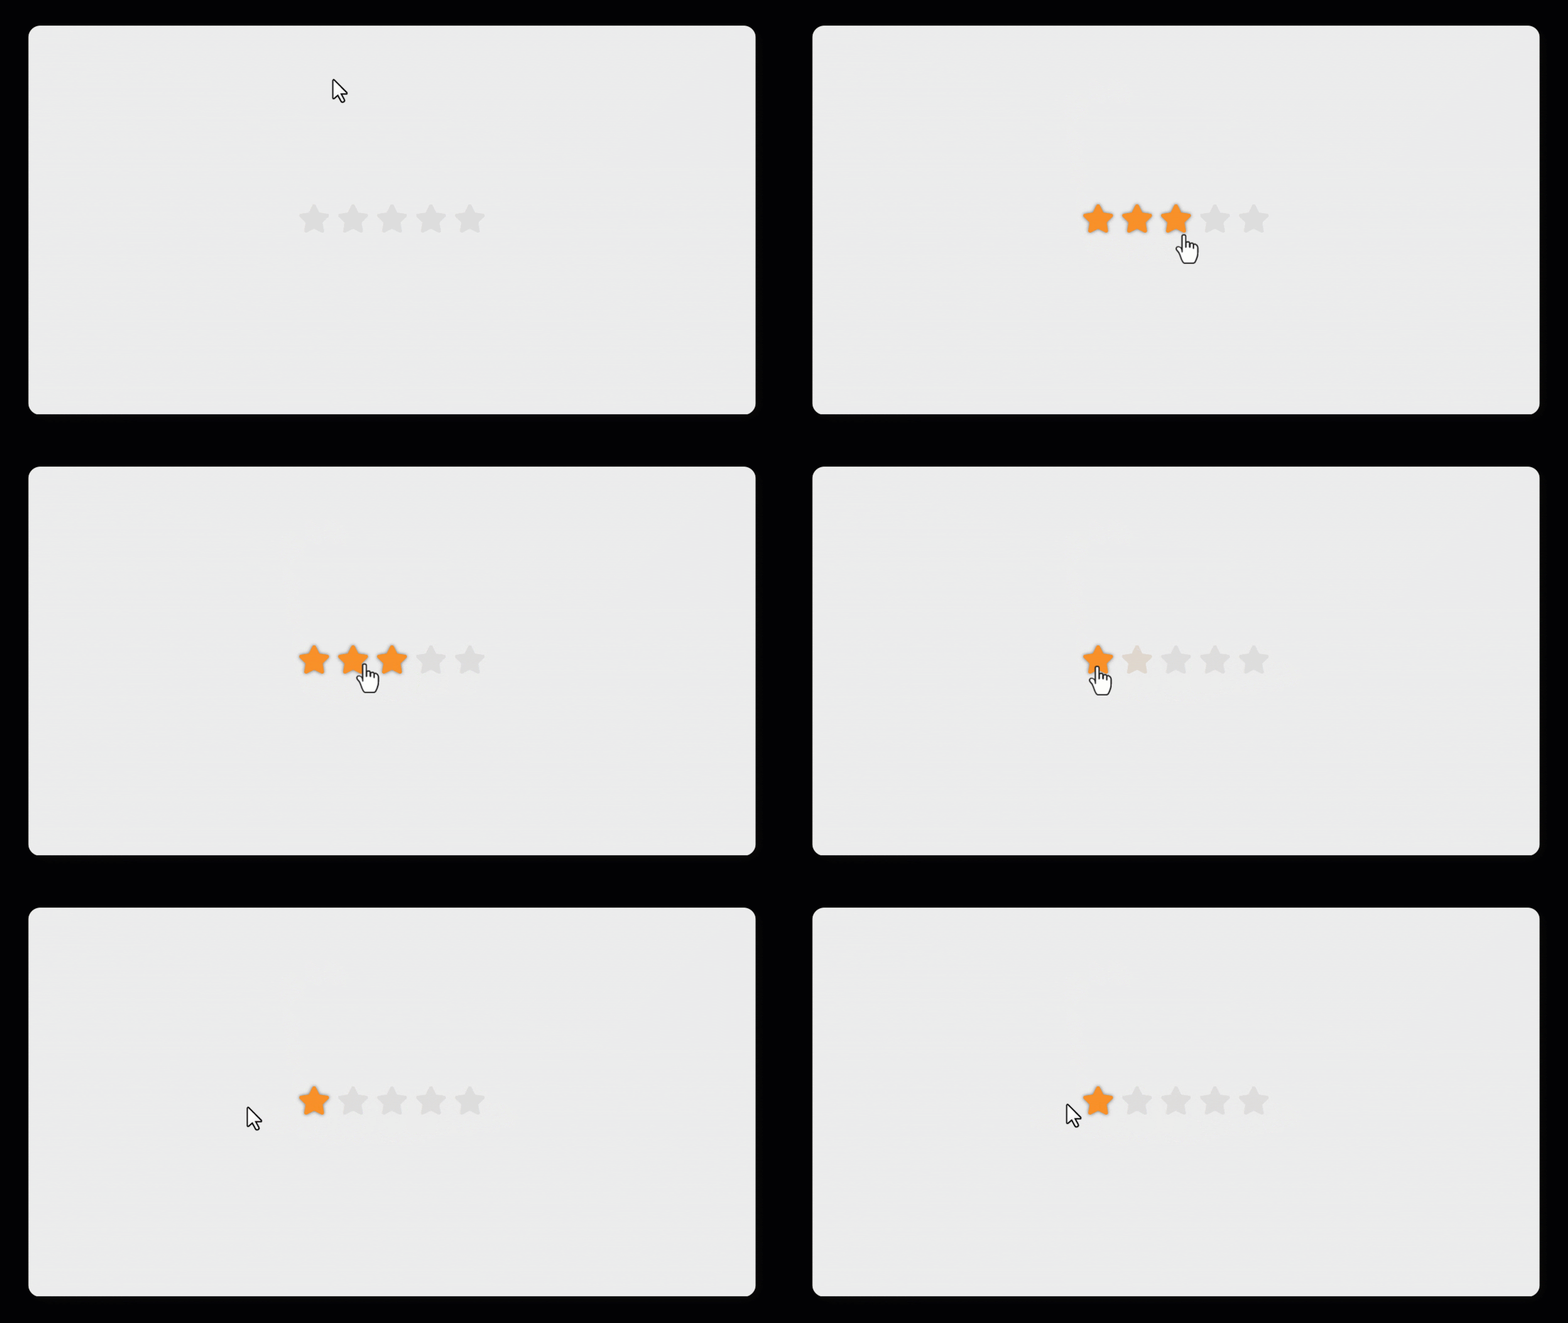
Achieving this interactive star rating system involves combining HTML for structuring the content, CSS for styling and creating visual effects, and JavaScript for handling user interactions. When users hover over the stars, they can select a rating, and the interface should respond by highlighting their choice. In this way, it not only enhances user engagement but also provides valuable insights to website owners and creators.
In this article, we will explore how to create a star rating system on hover using HTML, CSS, and JavaScript to enhance the interactivity and engagement of website or application.
Table Of Contents
Read Also:
HTML:
Let's begin with the foundational structure of an HTML document, as depicted below.
<!DOCTYPE html>
<html>
 <head>
   <title>Star Rating On Hover Using Html Css And Javascript</title>
 </head>
 <body>
	// Content
 </body>
</html>
You can incorporate all the required links and dependencies into the HTML document using the code snippet provided below.
<link href="https://cdnjs.cloudflare.com/ajax/libs/font-awesome/5.13.0/css/all.min.css" rel="stylesheet"/>
Now that we have established the basic HTML structure and ensured that all necessary dependencies are included in the HTML document, it is time to proceed with writing the HTML code, which is provided below.
<!DOCTYPE html>
<html>
<head>
  <title>Star Rating On Hover | Rustcode</title>
  <link rel="stylesheet" href="style.css">
  <link  href="https://cdnjs.cloudflare.com/ajax/libs/font-awesome/5.13.0/css/all.min.css" rel="stylesheet"/>
</head>
<body>

  <div class="container">
    <i class="fas fa-star"></i>
    <i class="fas fa-star"></i>
    <i class="fas fa-star"></i>
    <i class="fas fa-star"></i>
    <i class="fas fa-star"></i>
  </div>

<script src="script.js"></script>
</body>
</html>
- The <html> element is the root of the document, and it encloses the entire HTML content.
- Inside the <head> section, the code defines the web page's title, includes an external CSS file ("style.css") for styling, and links to the Font Awesome library to use star icons.
- The <body> section contains the visible content of the web page.
- Within the <body>, there's a <div> element with a class "container". Inside this div, there are five-star icons represented by <i> elements with the "fas fa-star" class, which are provided by Font Awesome.
- Finally, at the end of the <body>, there's a reference to an external JavaScript file ("script.js") for handling the interactivity of the star rating system.
Read Also:
- Announcement Popup Box Using PopboxJs | Rustcode
- Cursor Animation With Hover Effect Using GSAP | HTML, CSS And GSAP
- Custom Mouse Cursor Javascript | HTML, CSS And PointerJs
- Html Elements Smooth Drag And Drop Animation | HTML, CSS And Sortable
- Particle Background Animation | HTML, CSS And ParticleJs
- Responsive Portfolio Landing Page | HTML, CSS, jQuery And GSAP
- Two Image Slider | HTML, CSS And JsPlugin
CSS:
* {
  padding: 0;
  margin: 0;
  box-sizing: border-box;
}

body {
    display: flex;
  align-items: center;
  justify-content: center;
  height: 100vh;
  font-size: 3em;
  background-color: #ECECEc;
  color: #ddd;
  gap: 3px;
}

i {
  transition: 0.25s ease;
  cursor: pointer;
}

.selected {
  color: #F79028;
  filter: drop-shadow(0 0 3px #666);
}
-
The first part uses the universal selector (*) to reset padding and margin to zero and sets the box-sizing property to "border-box." This ensures consistent spacing and sizing for all elements.
-
The "body" element is configured to create a centered and visually appealing layout. It uses Flexbox to center its content both vertically and horizontally. The height is set to 100vh (viewport height), making it occupy the entire screen. The font size is increased to 3em, and the background color is a light gray (#ECECEc), with text color set to a light gray shade (#ddd). The "gap" property adds a small space (3px) between child elements.
-
The "i" element represents icons. It's given a smooth transition effect over 0.25 seconds and a pointer cursor, making it clear that it's clickable.
-
The "selected" class is defined to style selected elements. When an "i" element has this class, its color changes to an orange shade (#F79028), and a subtle drop shadow is applied for a visual effect.
Read Also:
SCRIPT:
let stars = Array.from(document.querySelectorAll("i"));

stars.forEach((element) => {
  element.addEventListener("click", (e) => {
    rate(element);
  });

  element.addEventListener("mouseover", (e) => {
    rate(element);
  });

});

function rate(element) {
  stars.forEach((el) => {
    el.classList.remove("selected");
  });
  selectedRating = stars.indexOf(element);
  for (let i = 0; i <= selectedRating; i++) {
    stars[i].classList.add("selected");
  }
}
-
Selects all the "i" elements on the page and stores them in an array called stars.
-
Sets up event listeners for each "i" element. When an "i" element is clicked or when the mouse hovers over it, the rate function is called, which is defined later in the code.
-
The rate function is responsible for handling the user's interaction. It first removes the "selected" class from all "i" elements, effectively clearing any previously selected stars.
-
It determines which star was clicked or hovered over by finding the index of the clicked/hovered "i" element in the stars array.
-
Then, it adds the "selected" class to all the "i" elements from index 0 up to the selected index, visually indicating the user's rating choice by changing the star colors.
Read Also:
Youtube Video:
We also made a youtube video for "Star Rating On Hover Using Html Css And Javascript", if you want to watch demo you can click on below video.
Read Also:
- Bookmark Interaction Animation | Html Css And Gsap
- Cursor Animation With Hover Effect Using GSAP | HTML, CSS And GSAP
- Full Screen Responsive Navbar Design | HTML, CSS And GSAP
- Gaming CPU Landing Page Design Using GSAP | HTML, CSS And GSAP
- Page Loading With Intro Using GSAP | HTML, CSS And GSAP
- Page Transition Animation Using GSAP | HTML, CSS And GSAP
- Responsive Portfolio Landing Page | HTML, CSS, jQuery And GSAP
- Website Loader Animation Using GSAP | HTML, CSS And GSAP


Comments
Post a Comment