Show And Hide Password Animation Using HTML, CSS And JavaScript
"Show and hide password animation" is a very popular and common psychological concept. This effect is used in almost every form in the password input element. This animation gives a better user experience and a good psychological point. It helps users to log in without irritating any wrong passwords.
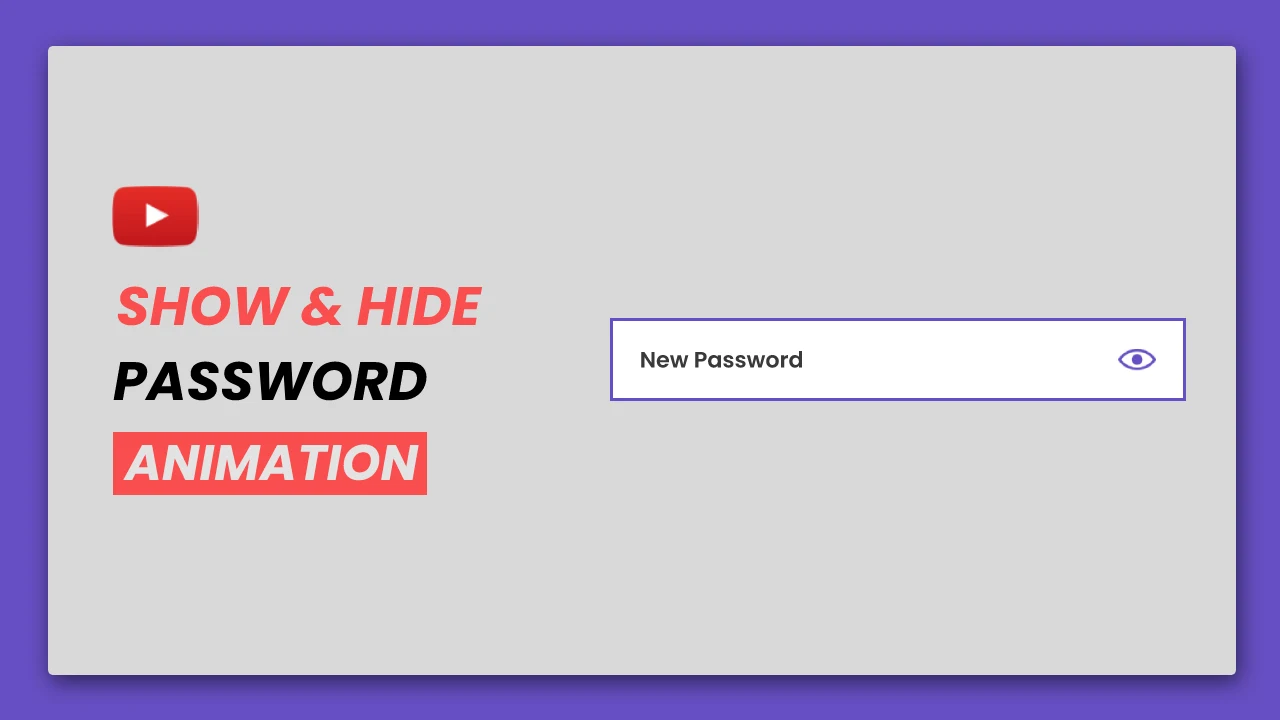
So let's try to understand the working of this "Hide and Show Password animation" concept. We have an input element, the type of that element is password. There is also an eye icon that will be used to indicate the type of the input element. For example, if the words of the password are visible then the type of input is text and an open eye icon will appear. If the password is appearing as a dot or a star, it means that the input type is password and a closed eye icon will appear.
If you want to learn animation using javascript and jsplugins, We have already created a lot of animation using various plugins of javascript, check out the playlist. We hope you like it.
You can read interesting articles on web development. The link is given below.
READ ALSO:
01. HTML STRUCTURE
<!DOCTYPE html>
<html>
<head>
  <title>Show And Hide Password Animation</title>
      <link rel="stylesheet" href="style.css">
</head>

<body>

    main content.

</body>
</html>
02. HTML
<!DOCTYPE html>
<html>
<head>
 <title>Show And Hide Password Animation</title>
 <link rel="stylesheet" href="https://cdnjs.cloudflare.com/ajax/libs/font-awesome/4.7.0/css/font-awesome.css"/>
 <link rel="stylesheet" href="style.css">
</head>

<body>

<div>
  <span class="container">
    <input type="password" placeholder="password" id="password">
    <i class="fa fa-eye-slash" id="btn" onclick="togglePassword()"></i>
  </span>
</div>

<script src="script.js"></script>
</body>
</html>
03. CSS
@import url('https://fonts.googleapis.com/css2?family=Poppins:wght@500;600;700');

body{
  display: flex;
  align-items: center;
  justify-content: center;
  height: 100vh;
  color: black;
  background: #F3E3B1;
  font-family: "Poppins", sans-serif;
}

.container{
  display: flex;
  flex-direction: row;
  justify-content: space-between;
  align-items: center;
  width: 350px;
  background: white;
  border: 2px solid #664FC3;
}

input{
  width: 290px;
  padding: 16px;
  border: 0px;
  outline: 0px;
  box-shadow: 0px;
  font-family: inherit;
}
input:hover,
input:focus{
  border: 0px;
  outline: 0px;
  box-shadow: 0px;
}

.fa{
  padding: 16px;
  color: #664FC3;
  font-weight: bold;
}
04. JAVASCRIPT
function togglePassword(){
  const btn = document.getElementById("btn");
  var password = document.getElementById("password");

  if(password.type === "password"){
    password.type = "text";
    btn.classList.remove("fa-eye-slash");
    btn.classList.add("fa-eye");
  }
  else{
    password.type = "password";
    btn.classList.remove("fa-eye");
    btn.classList.add("fa-eye-slash");
  }
}
05. Youtube Video
Here I am attaching a YouTube video from my channel so that you can understand this article better and you can create a better web user interface. I have a lot of videos on my YouTube channel which is related to the user interface and web development. You can also, learn about web development from there.
06. SOURCE CODE
After reading this article and watching a YouTube video, if you want to download the source code, you can download it from here and change this according to your need.

Comments
Post a Comment