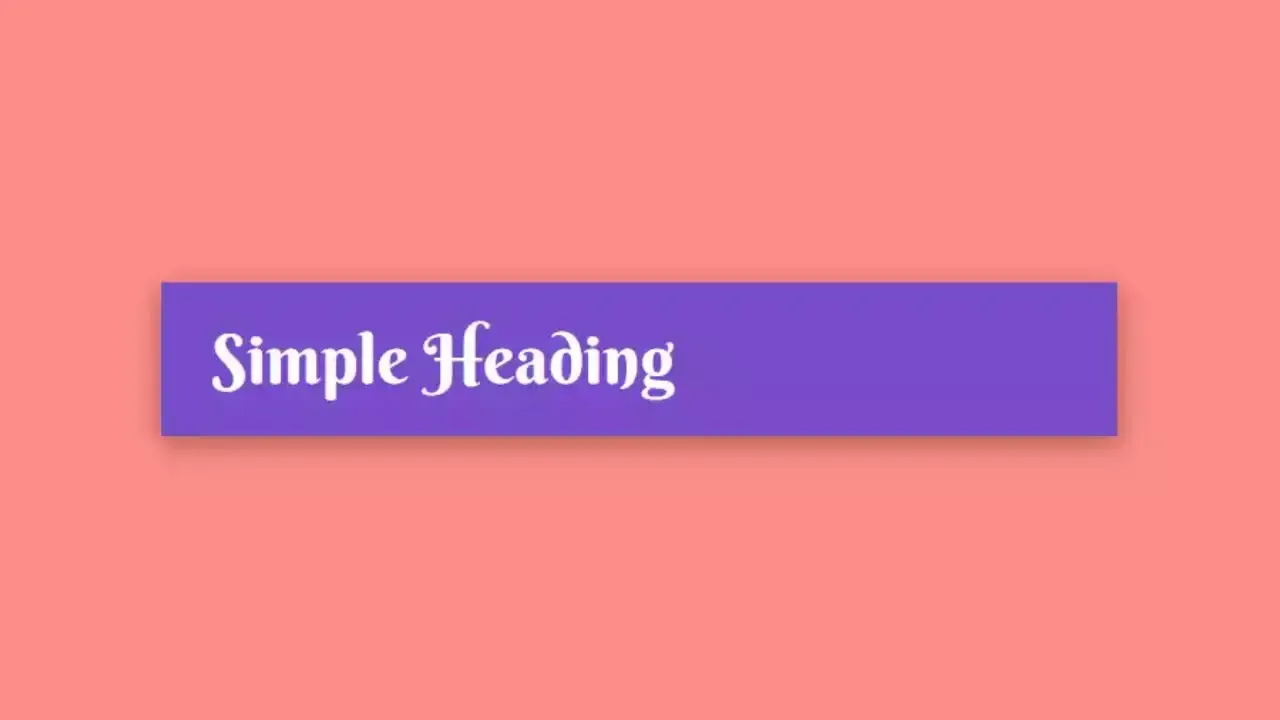
Simple Heading With Hover Effect Using Html Css Only
In the world of website design, we often want to make things look cool and interesting. One way to do that is by making text changes when you move your mouse over it.
In this article, we'll show you how to do this using only HTML and CSS, without needing any complicated coding. Whether you're just starting out in web design or you've been doing it for a while, you can follow our easy steps to create a text effect that will grab people's attention when they visit your website. It's all about making your text look awesome with a simple trick – no need for fancy programming! Let's get started and make your website more exciting with just HTML and CSS. For Javascript basic programs and qna you can follow javascript playlist.You can explore further articles on web development by checking out this list.
Table Of Contents
HTML:
let's start with the basic building blocks of an HTML document, which you can see below. Once we've set up this essential structure and made sure all the required elements are in place, we can move on to actually writing the HTML code.
<!DOCTYPE html>
<html>
<head>
  <title>Simple Heading With Hover Effect Using Html Css Only</title>
</head>
<body>

  <h1>Simple Heading</h1>

</body>
</html>
-
<!DOCTYPE html>: This is the document type declaration and indicates that the document is an HTML5 document. It's essential for the web browser to understand which version of HTML is being used. -
<html>: This is the opening tag of the HTML document and represents the root element. All the content of the web page is enclosed within these<html>tags. -
<head>: Inside the<html>tags, the<head>section is used to provide metadata and information about the web page, such as the title, character encoding, links to stylesheets, and more. -
<title>: Within the<head>section, the<title>tag sets the title of the web page, which appears in the browser's title bar or tab. In this example, the title is "Email Envelope Design Using Html Css Only." -
</head>: This is the closing tag for the<head>section, indicating the end of the metadata section. -
<body>: After the<head>section, the<body>section is where the main content of the web page resides. It contains elements like text, images, links, and more that are visible to the user. -
<h1>: This is a heading element. In this example, it's used to create a top-level heading with the text "Simple Heading". The number in the heading tag (1 in this case) represents the heading's level, where 1 is the highest level, and it goes down to 6 for lower-level headings. -
</body>: This is the closing tag for the<body>section, indicating the end of the main content of the web page. -
</html>: Finally, this is the closing tag for the entire HTML document, indicating the end of the document's structure.
this code defines the basic structure of a web page with a title in the browser's tab and a simple heading within the page's body.
CSS:
*{
  margin: 0px;
  padding: 0px;
  font-family: 'Berkshire Swash', cursive;
}

body{
  background: #FC8D87;
  display: flex;
  align-items: center;
  height: 100vh;
  justify-content: center;
}

h1{
  background: #794CC8;
  color: white;
  padding: 16px 24px;
  width: 400px;
  font-weight: 500;
  box-shadow: 0 3px 12px rgba(0, 0, 0, 0.23),
              0 3px 12px rgba(0, 0, 0, 0.16);
}

h1:hover{
  color: #FFEA00;
  cursor: pointer;
}
-
*: It selects all elements on the page.margin: 0px;andpadding: 0px;: These lines remove any default margin and padding from all elements, ensuring there is no extra space around them.font-family: 'Berkshire Swash', cursive;: Sets the font for all text on the page to 'Berkshire Swash' or any cursive font.
-
body: Styles the entire web page's body.background: #FC8D87;: Sets the background color to a shade of pink.display: flex;: Uses a flexbox layout for arranging elements.align-items: center;: Vertically centers content.height: 100vh;: Makes the body take up the full viewport height.justify-content: center;: Horizontally centers content.
-
h1: Styles the heading element<h1>on the page.background: #794CC8;: Sets the background color of the heading to a shade of purple.color: white;: Sets the text color to white.padding: 16px 24px;: Adds padding inside the heading.width: 400px;: Sets the width of the heading.font-weight: 500;: Makes the text slightly bold.box-shadow: Adds a shadow effect to the heading.
-
h1:hover: Changes the style of the heading when you hover the mouse over it.color: #FFEA00;: Changes the text color to yellow when hovered.cursor: pointer;: Changes the cursor to a pointer hand when hovering, indicating that it's clickable.
Read Also:
Read Also:
- Bookmark Interaction Animation | Html Css And Gsap
- Cursor Animation With Hover Effect Using GSAP | HTML, CSS And GSAP
- Full Screen Responsive Overlay Navigation Bar Design Using GSAP | HTML ,CSS And GSAP
- Gaming CPU Landing Page Design Using GSAP | HTML, CSS And GSAP
- Page Loading With Intro Using GSAP | HTML, CSS And GSAP
- Page Transition Animation Using GSAP | HTML, CSS And GSAP
- Portfolio Landing Page With Animation And Responsiveness | HTML, CSS, jQuery And GSAP
- Website Loader Animation Using GSAP | HTML, CSS And GSAP


Comments
Post a Comment