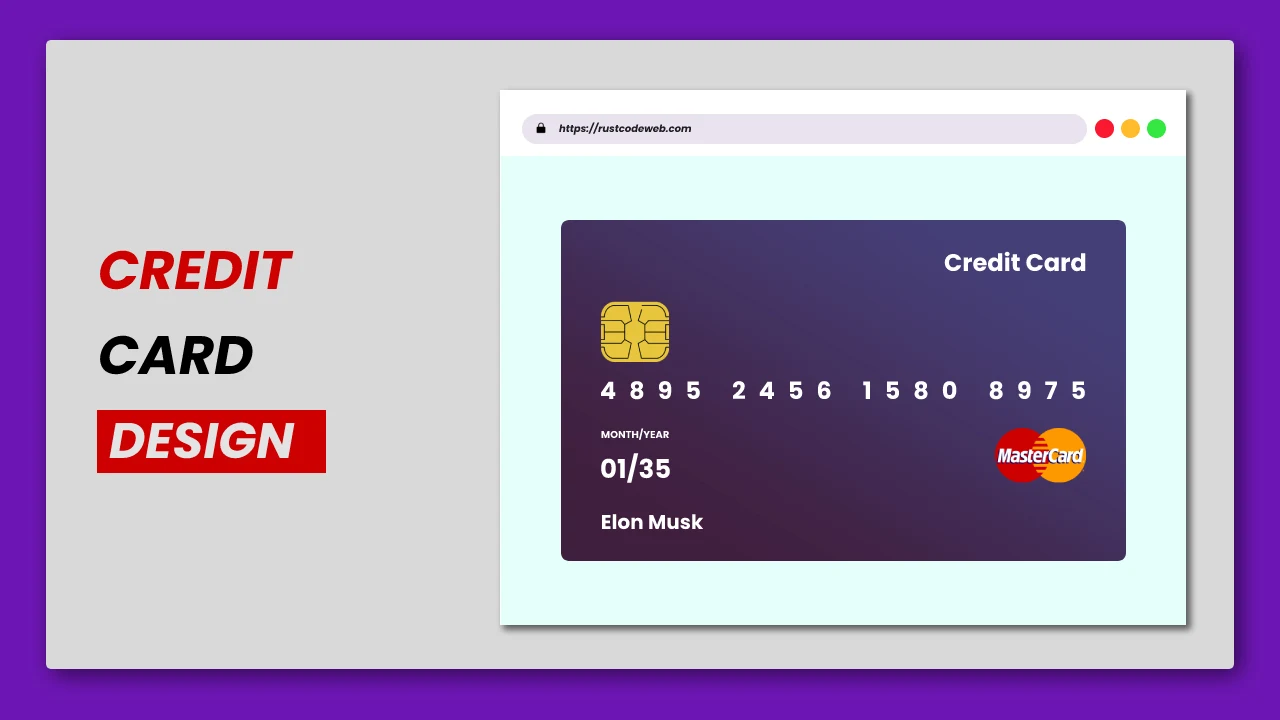
Credit Card Design Using HTML And CSS
Recently we have published an article on credit cards covering more than eleven different credit card designs. And in this article, we will design a credit card using html and css.
The card will have a "card-container" containing the card and we are using the "poppins" font-family to make attractive text. Two images will be required to create this card, the download link for those images will be found in the middle of this article. No animation has been added to this card.
You can check the playlist of our website to read more articles related to the website development.
We have button animations which are generally used in website development. You can read more articles on button animation.
READ ALSO:
01. HTML STRUCTURE
<!DOCTYPE html>
<html>
<head>
  <title>Credit Card Design</title>
  <link rel="stylesheet" href="style.css">
</head>

<body>

    main content.

</body>
</html>
02. HTML
You can download image form here.
01. Chip Image: Download<body> <div class="card-container"> <div class="card-name">Credit Card</div> <div class="chip"> <img src="chip.png"> </div> <div class="card-data"> <div class="card-no">4895 2456 1580 8975</div> <div class="expire-data"> <div class="expire-date"> <div class="date-label">MONTH/YEAR</div> <div class="date" title="01/17">01/35</div> </div> <div class="card-type"> <img src="mastercard.png"> </div> </div> <div>Elon Musk</div> </div> </div> </body>
03. CSS
@import url('https://fonts.googleapis.com/css2?family=Poppins&display=swap');
body{
  display: flex;
  justify-content: center;
  align-items: center;
  height: 100vh;
  font-family: "poppins",sans-serif;
}

.card-container{
  width: 350px;
  height: 220px;
  background-image: linear-gradient(#453F78, #3F2E56,#401F3E);
  color: white;
  border-radius: 8px;
  padding: 20px;
  box-sizing: border-box;
}

.card-name{
  font-weight: 700;
  text-align: right;
}
.chip{
  margin-top: 10px;
  width: 40px;
  height: 40px;
}
.chip img{
  width: 40px;
  height: 40px;
}
.card-no{
  letter-spacing: .456rem;
  margin-top: 10px;
}

.expire-data{
  display: flex;
  flex-direction: row;
  justify-content: space-between;
}

.expire-date{
  margin-top: 6px;
}

.date-label{
  font-size: 8px;
}

.card-type{
  margin-top: 4px;
  width: 70px;
  height: 40px;
}
.card-type img{
  width: 70px;
  height: 40px;
}
04. Youtube Video
Here I am attaching a YouTube video from my channel so that you can understand this article better and you can create a better web user interface. I have a lot of videos on my YouTube channel which is related to the user interface and web development. You can also, learn about web development from there.
05. SOURCE CODE
After reading this article and watching a YouTube video, if you want to download source code, you can download from here and change this according to your need.

Comments
Post a Comment