Responsive Price Table Design Using HTML And CSS
If you are a service provider or sell certain products online, you will need to add a price table that includes details of your service or product along with a description and price. We always keep in mind that our website should be responsive, so that website is easily accessible with different devices.
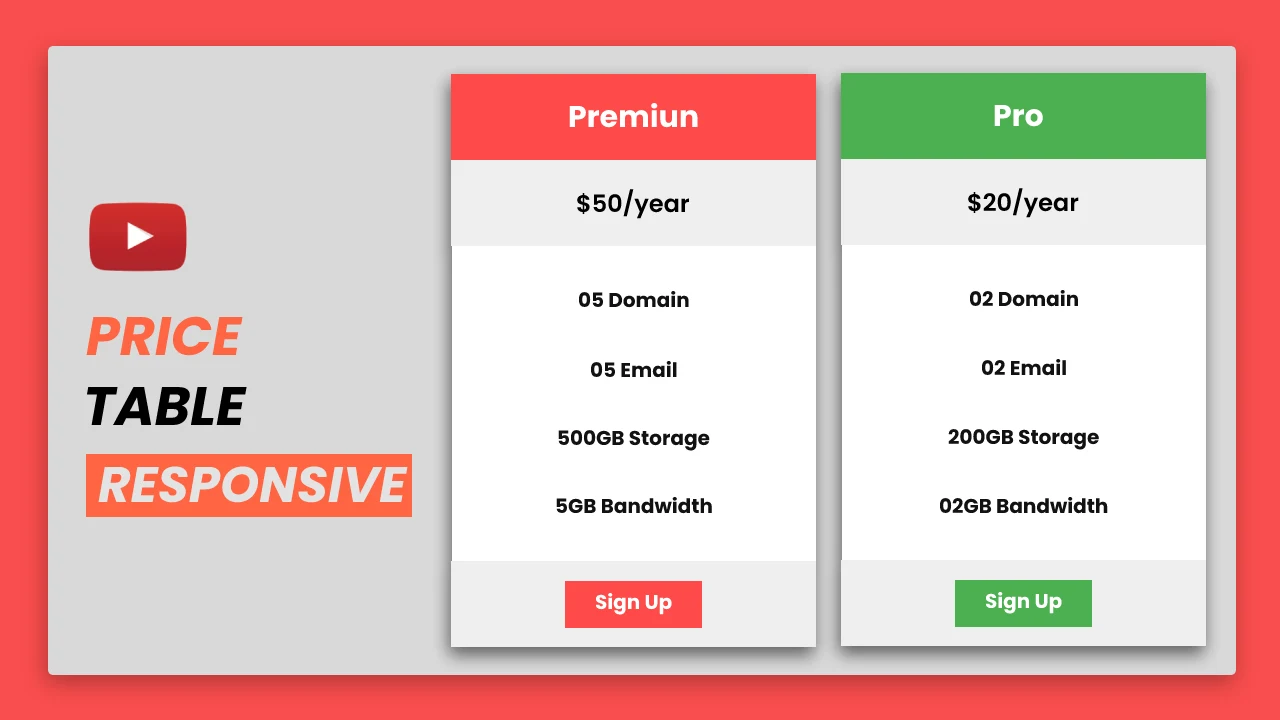
In this creation we have three tables, all three tables have different colors and prices. You can set the price according to your needs. Hopefully, you will like it.
You can learn more responsive design from our youtube channel, we made a playlist there.
If you want to learn animation using javascript and jsplugins, We have already created a lot of animation using various plugins of javascript, check out the playlist. We hope you like it.
You can read interesting articles on web development. The link is given below.
READ ALSO:
01. HTML STRUCTURE
<!DOCTYPE html>
<html>
<head>
  <title>Responsive Price Table Design</title>
  <link rel="stylesheet" href="style.css">
</head>

<body>

    main content.

</body>
</html>
02. HTML
<!DOCTYPE html>
<html>
  <head>
    <title>Responsive Price Table Design</title>
    <link rel="stylesheet" type="text/css" href="style.css">
  </head>
  <body>
    <div class="container">
      <div class="columns">
        <ul class="price">
          <li class="header">Basic</li>
          <li class="grey">$ 10 / year</li>
          <li>01 Domain</li>
          <li>01 Email</li>
          <li>100GB Storage</li>
          <li>1GB Bandwidth</li>
          <li class="grey"><a href="#" class="button">Sign Up</a></li>
        </ul>
      </div>
      <div class="columns">
        <ul class="price">
          <li class="header" style="background: #4CAF50">Pro</li>
          <li class="grey">$ 20 / year</li>
          <li>02 Domain</li>
          <li>02 Email</li>
          <li>200GB Storage</li>
          <li>2GB Bandwidth</li>
          <li class="grey"><a href="#" class="button" style="background: #4CAF50">Sign Up</a></li>
        </ul>
      </div>
      <div class="columns">
        <ul class="price">
          <li class="header" style="background: #FE4A49">Premium</li>
          <li class="grey">$ 50 / year</li>
          <li>05 Domain</li>
          <li>05 Email</li>
          <li>500GB Storage</li>
          <li>5GB Bandwidth</li>
          <li class="grey"><a href="#" class="button" style="background: #FE4A49">Sign Up</a></li>
        </ul>
      </div>
    </div>
  </body>
</html>
03. CSS
*{
  box-sizing: border-box;
  font-family: Arial, Helvetica, sans-serif;
}
body{
  margin: 0px;
  padding: 0px;
}
.container{
  width: 90%;
  margin: auto;
  margin-top: 120px;
}
.columns{
  float: left;
  width: 33.33%;
  padding: 8px;
}
.price{
  list-style-type: none;
  border: 1px solid #eee;
  margin: 0px;
  padding: 0px;
}
.price:hover{
  box-shadow: 0px 8px 16px 4px rgba(0, 0, 0, 0.2);
}
.price .header{
  background: #009FB7;
  color: white;
  font-size: 25px;
}
.price li{
  background: white;
  border-bottom: 1px solid #eee;
  padding: 20px;
  text-align: center;
}
.price .grey{
  background: #eee;
  font-size: 20px;
}
.button{
  background: #009FB7;
  border: none;
  color: white;
  padding: 12px 24px;
  text-align: center;
  text-decoration: none;
  font-size: 18px;
}
@media only screen and (max-width: 950px) {
  .container{
    width: 100%;
  }
}

@media only screen and (max-width: 600px) {
  .columns{
    width: 100%;
  }
}
04. Youtube Video
Here I am attaching a YouTube video from my channel so that you can understand this article better and you can create a better web user interface. I have a lot of videos on my YouTube channel which is related to the user interface and web development. You can also, learn about web development from there.
05. SOURCE CODE
After reading this article and watching a YouTube video, if you want to download the source code, you can download it from here and change this according to your need.

Comments
Post a Comment