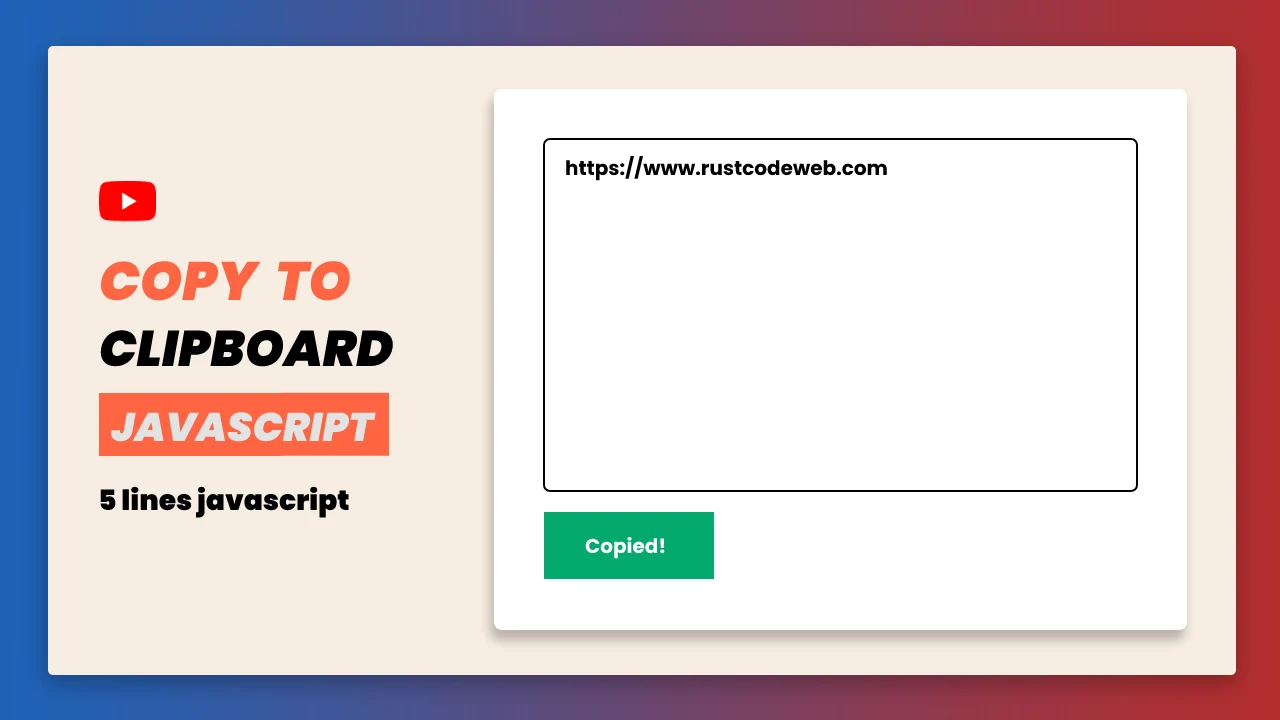
Copy To Clipboard Using HTML, CSS And JavaScript
"Copy to Clipboard" is useful animation for every website related to coding. We think every developer needs to know how it works. Because the developer needs to implement this kind of functionality in the website. We found many articles which provide solution to copy to clip board, but we were not satisfied with them as the codes were lengthy and wrote useless JavaScript. But in the end we have created a "copy to clipboard" animation using just five lines of JavaScript code. Here the overall code is long due to css otherwise the javascript code is very short.
So let's know about this animation how it will work. First you'll find a textarea, it will also have a copy button. As soon as you click the button, the textarea content will be copied and the button's "copied" will be written for 3 seconds.
You can read interesting articles on web development. The link is given below.
If you want to learn animation using javascript and jsplugins, We have already created a lot of animation using various plugins of javascript, check out the playlist. We hope you like it.
01. HTML STRUCTURE
<!DOCTYPE html>
<html>
<head>
  <title>Copy To Clipboard JavaScript | Rustcode</title>
<link rel="stylesheet" href="style.css">
</head>

<body>

    main content.

</body>
</html>
02. HTML
Images Github Link: Download
<!DOCTYPE html>
<html>
  <head>
    <title>Copy To Clipboard JavaScript | Rustcode</title>
    <link rel="stylesheet" type="text/css" href="style.css">
  </head>
  <body>
    <div class="container">
      <textarea placeholder="Message" cols="30" rows="10" class="copy-text"></textarea>
      <button class="copy-btn">Copy</button>
    </div>
    <script src="script.js"></script>
  </body>
</html>
03. CSS
@import url('https://fonts.googleapis.com/css2?family=Poppins:wght@400;500;600&display=swap');
*{
  box-sizing: border-box;
}

body{
  margin: 0px;
  padding: 0px;
  font-family: "Poppins", sans-serif;
  background: #F7EDE2;
  display: flex;
  height: 100vh;
  justify-content: center;
  align-items: center;
}

.container{
  background: white;
  padding: 40px;
  display: flex;
  flex-direction: column;
  justify-content: center;
  border-radius: 6px;
}

.copy-text{
  border: 2px solid #111;
  padding: 16px 20px;
  font-size: 16px;
  font-weight: 600;
  height: 350px;
  width: 800px;
  margin-bottom: 20px;
  font-family: inherit;
  border-radius: 2px;
}

.copy-btn{
  padding: 12px 32px;
  border: 0px;
  background: #3F88C5;
  color: white;
  width: 120px;
  font-size: 16px;
  font-family: inherit;
  cursor: pointer;
  font-weight: 600;
}

.copied{
  background: #04AA6D;
  transition: 0.5s;
}
04. JAVASCRIPT
const btn = document.querySelector(".copy-btn");
const text = document.querySelector(".copy-text");

btn.addEventListener("click", () =>{
  text.select();
  text.setSelectionRange(0, 10000);
  document.execCommand("copy");
  btn.classList.toggle("copied");
  btn.innerHTML = "Copied!";

  setTimeout(function(){
    btn.classList.toggle("copied");
    btn.innerHTML = "Copy";
  }, 3000);
});
05. Youtube Video
Here I am attaching a YouTube video from my channel so that you can understand this article better and you can create a better web user interface. I have a lot of videos on my YouTube channel which is related to the user interface and web development. You can also, learn about web development from there.
06. SOURCE CODE
After reading this article and watching a YouTube video, if you want to download the source code, you can download it from here and change this according to your need.

Comments
Post a Comment